KYC Verification using SumSub
Read here how to use SumSub to provide your KYC details.
When you want to incorporate a new entity or would like to add additional participants to an existing entity, we are required to perform what is known as a KYC (Know Your Customer) Check. The purpose of the KYC check is verifying client details and ensuring we know who we are dealing with.
We are using a digital verification tool called SumSub to gather your personal information along with the required documents to support this information.
Getting Started with SumSub
To get started with SumSub you will need to access the app by clicking the link that has been shared to your email.
Start Screen
After clicking the link you will be redirected to the start screen of the KYC Verification Process, after clicking continue you will get started.
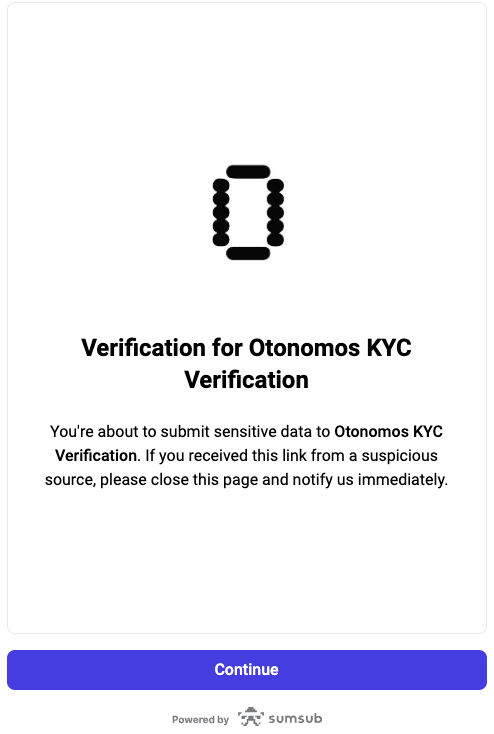
KYC Start Screen
KYC Verification Summary
The next screen will give you a quick summary of the steps that will need to be token to complete the KYC verification process.
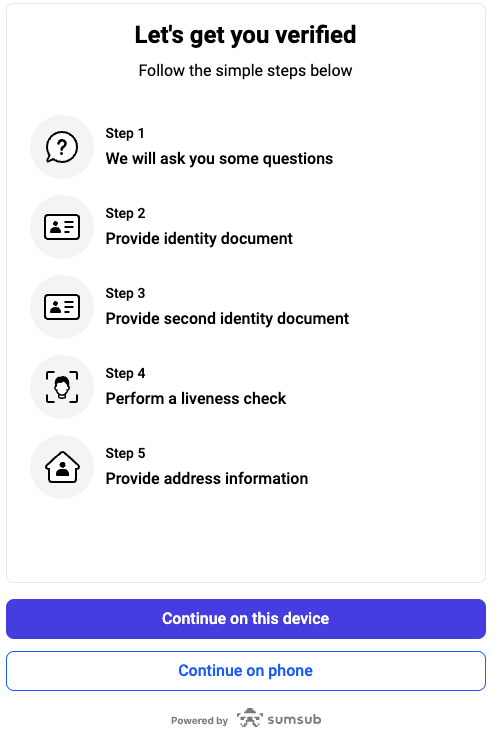
KYC Steps
The amount of steps depends on the level of verification that is required. Offshore entities tend to have stricter requirements, hence the additional questions.
Country of Residence
The first step is determining your country of residence, there is a distinction between the USA and other countries.
This is because people from the US are required to give consent to store the data that is being provided for the KYC verification.
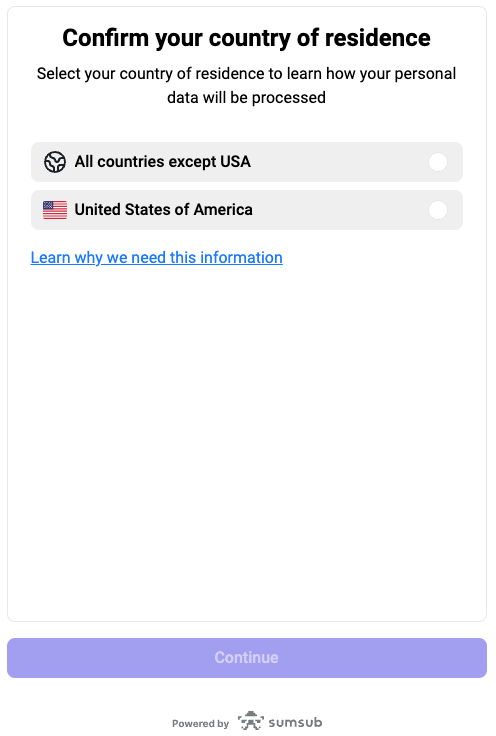
Country of residence selection
Personal Information
The first details that we are required to gather is your personal information. Please ensure to provide the same details as they are on the ID documents that will be uploaded in the next step.
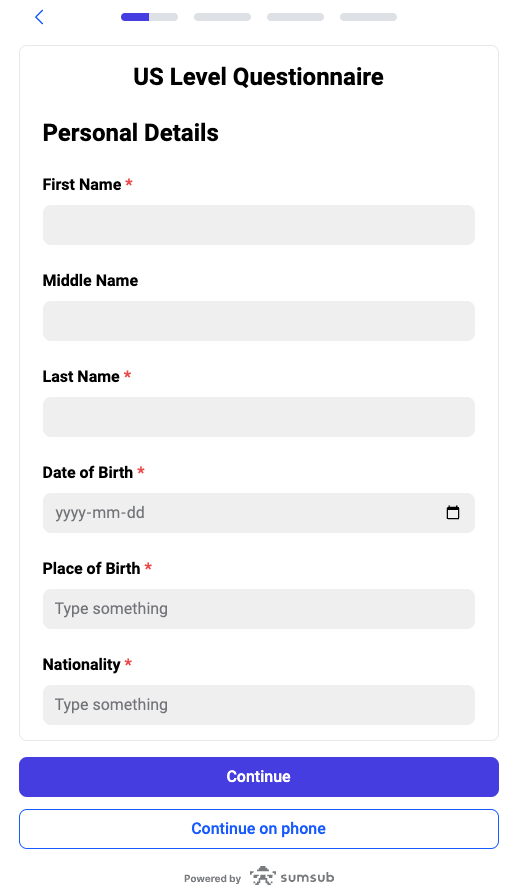
Personal Details
ID Document Upload
After providing your personal information we are required to receive a document to verify the provided information.
The type of document that is sufficient depends on the level of due diligence that is required.

ID Document Upload Screen
For offshores we require a passport and in some situations a 2nd ID which can be a drivers license or ID card.
For a US LLC a drivers license if generally sufficient.
Uploading an ID document
To upload an ID document it is preferred to take a picture with your laptop or your phone. As you can see, throughout the process you have the option to switch to your phone for document upload or providing information.
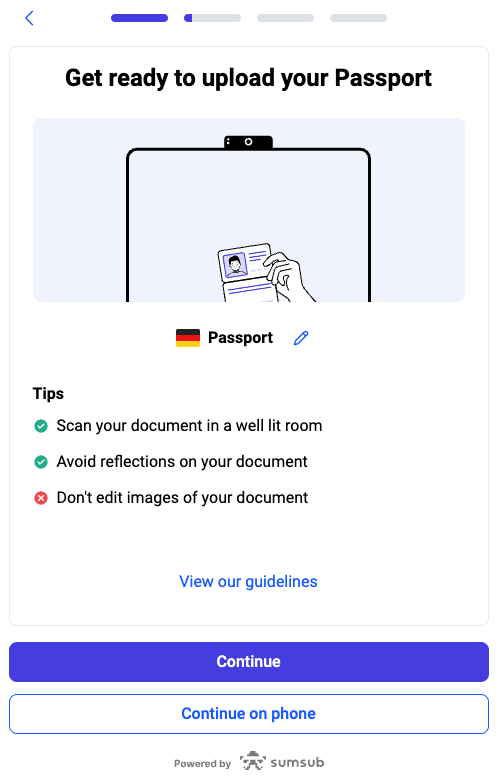
Document Upload Info
Once you continue you are asked to provide camera access.
In this screen you also have the option to upload a document in case you are not able to take a live capture.
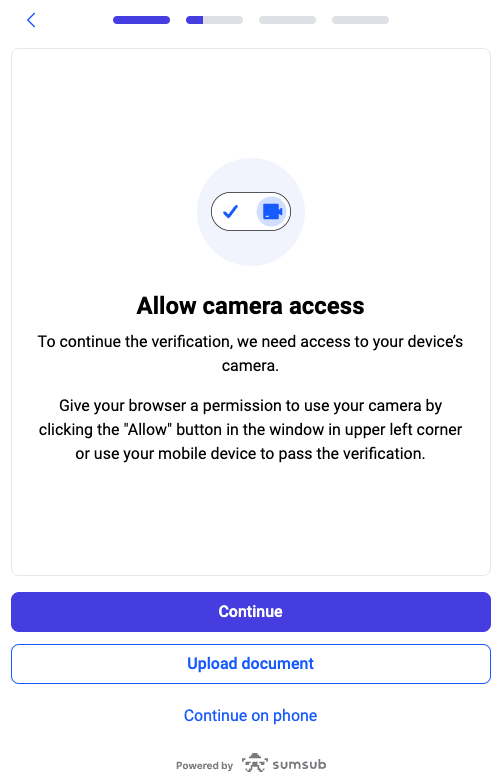
Camera Access Screen
Once the document is uploaded you will see an example to ensure the document is correctly captured befor your can continue.
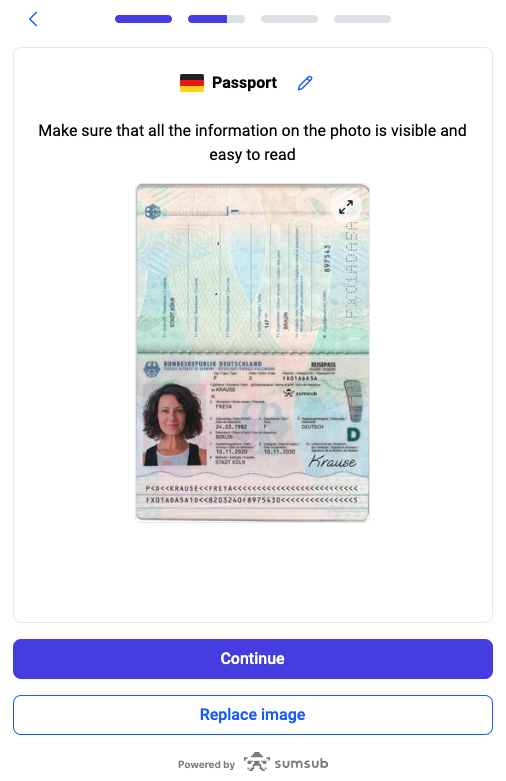
Document Upload Preview (Specimen Document)
Once the document is uploaded and accepted you move on to the next step. For more enhanced due diligence there will be an additional ID Document upload required.
Otherwise you will move on to the address verification step.
Address Verification
Besides verifying personal details we are required to verify your address details. The first step is to fill out your address details followed by a document upload to verify these address details.
After filling out the details you are required to upload the corresponding document.
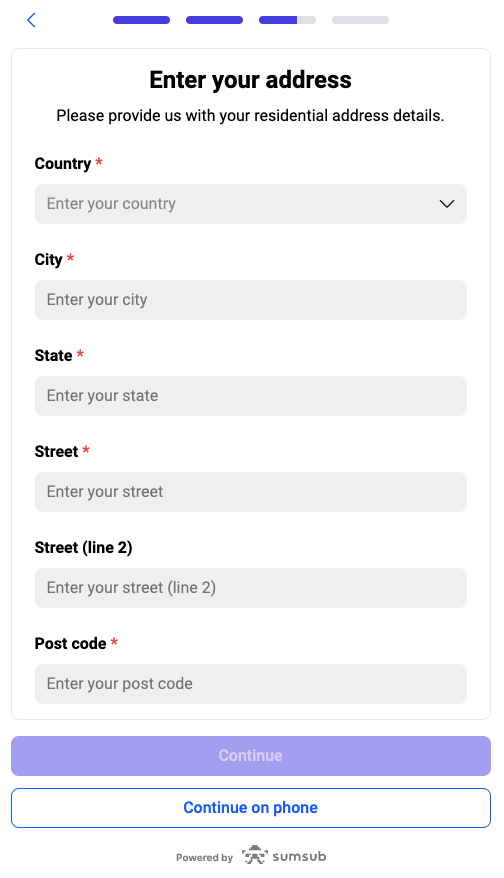
Address details verification
Proof of Address upload
When uploading a proof of address document you are first required to declare what type of document it is.
Accepted Proof of address document are as follows:
Gas / Water / Power Bill
Government Organization Document
Tax Statement
Voter Registration
other
Telecom Bill
Lease Agreement
Bank Statement*
- Bank statements are not widely accepted, the KYC Verification tool will show when it is accepted.
Once the document type is selected you are able to upload the document using the screen shown below.
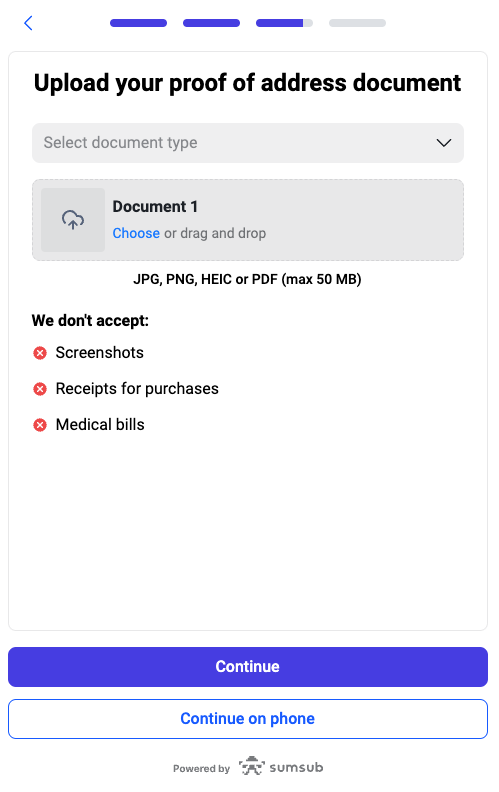
Proof of Address document upload screen
Live Verification
A crucial part of the KYC verification is providing what is known as a Liveness Check.
The liveness check is needed to confirm that the person providing the information is indeed the person behind the laptop.
To provide the live verification you need to allow access to your camera again and follow the steps that are shown in the screen.
First you will need to place your face in the square on the screen and once you see a green circle you need to do a "face roll" to show all sides of your face.

Liveness Check Preview Screen
The tool will guide you to the completion screen when the liveness check is completed.
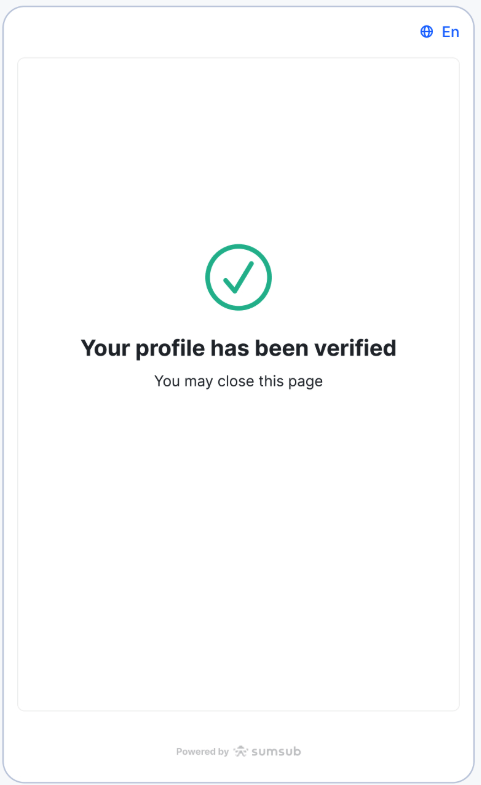
KYC Verification Completion Screen
Once you have completed the whole process you will see a screen that confirms your profile has been verified.
From there we are ready to start the incorporation process of your new entity!
Updated 12 months ago
